


Tesla chrome delete damage, caused by environmental factors, accidents, or harsh cleaning products, commonly affects door handles, window frames, side mirrors, and grilles. Early detection is crucial for effective repairs, which should be done by specialized body shops using car paint repair techniques. To successfully repair Tesla chrome deletes, gather tools like pliers, scrapers, sandpaper, auto body fill, primers, paints, cleaning solutions, a dent puller, and a chrome restoration kit. Assess damage and use appropriate methods: polishing compound for minor issues or a dent puller for deeper damage. Follow kit instructions for professional results and maintain chrome surfaces through regular checks and protection.
Tesla owners often face the dilemma of chrome delete damage, which can detract from their vehicle’s aesthetics. This article provides practical solutions for repairing such damage, focusing on simple yet effective techniques. We’ll guide you through understanding common causes and affected areas, equipping you with a comprehensive list of tools and materials. Then, follow our step-by-step instructions to restore your Tesla’s sleek look, ensuring a professional repair without breaking the bank.
- Understanding Tesla Chrome Delete Damage: Causes and Common Areas Affected
- Tools and Materials Required for Repair: A Comprehensive List
- Step-by-Step Guide to Fixing Tesla Chrome Delete Damage: Techniques and Tips
Understanding Tesla Chrome Delete Damage: Causes and Common Areas Affected

Tesla Chrome Delete Damage: Unraveling the Common Issues
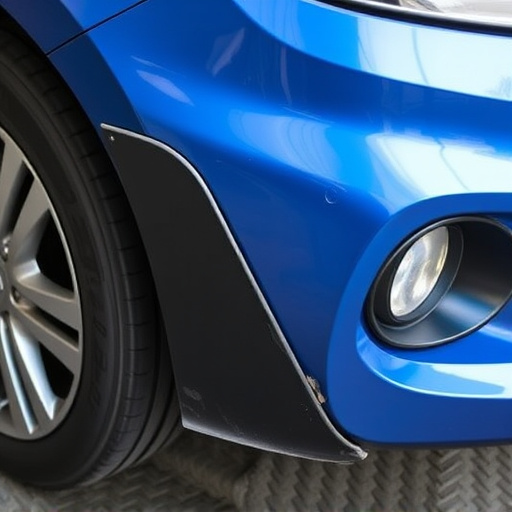
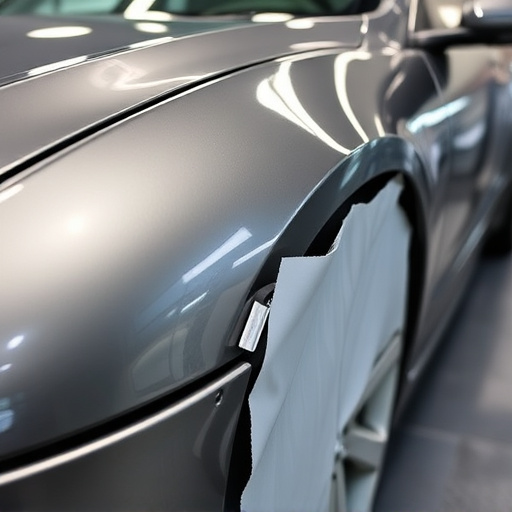
Chrome delete damage on Tesla vehicles is a common concern for owners, often arising from various factors. This issue typically refers to the disintegration or peeling of the chrome trim and accents that are characteristic of Tesla’s sleek design. Over time, exposure to harsh weather conditions, UV rays, and road debris can weaken these decorative elements. Even minor accidents or car washes using abrasive cleaners can accelerate the damage. The most commonly affected areas include door handles, window frames, side mirrors, and the vehicle’s grille, where the chrome finish is more vulnerable to deterioration.
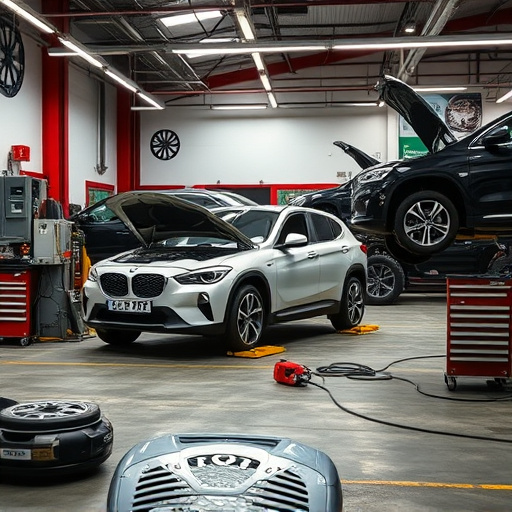
Identifying the problem early on is crucial for effective Tesla chrome delete repair. Car owners should be vigilant about checking their car’s bodywork for any signs of peeling or flaking chrome. Prompt action can prevent further damage and maintain the vehicle’s aesthetic appeal. Body shop services specializing in car paint repair and restoration are equipped to handle these repairs, ensuring that the fixed areas seamlessly blend with the rest of the car’s exterior.
Tools and Materials Required for Repair: A Comprehensive List

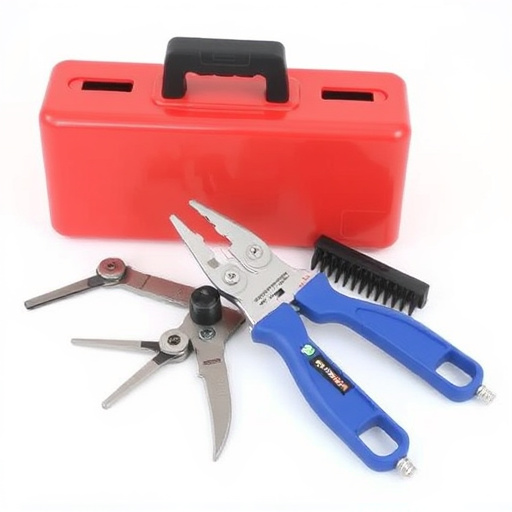
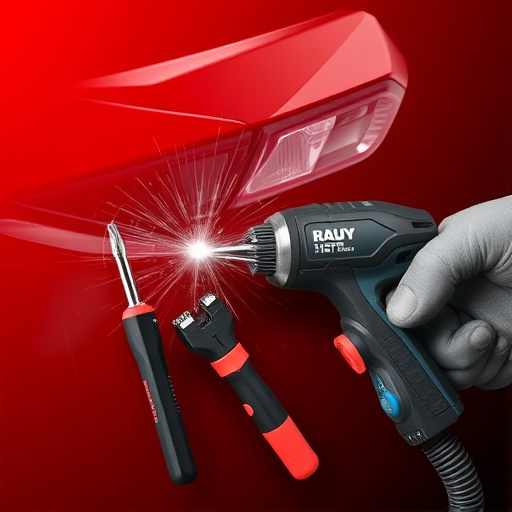
To undertake a Tesla chrome delete repair effectively, you’ll need a specific set of tools and materials tailored for auto body repair. This process involves precise work, especially when dealing with intricate vehicle details. Start by gathering the following essentials:
1. Specialty Chrome Removal Tools: These can include specialized pliers, scrapers, or picks designed to safely remove chrome without damaging the underlying surface.
2. Sandpaper (Various Grits): For smoothing rough edges and removing any remaining traces of the deleted chrome, fine-grit sandpaper is crucial. A range of grits, from coarse to very fine, will ensure a thorough job.
3. Auto Body Fill or Putty: To repair any dents or holes caused during the deletion process, choose a product suitable for vehicle repair. This will require expert application to match the car’s original finish perfectly.
4. Primers and Paints: Matching the vehicle’s original paint color precisely is essential for an undetectable repair. High-quality primers and paints designed for automotive use are recommended.
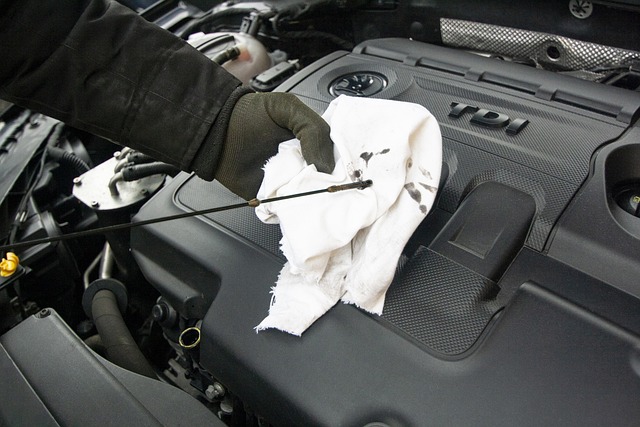
5. Cleaning Solutions: To ensure a thorough clean before painting, degreasers and cleaning agents are vital to remove any residual dirt or contaminants.
Step-by-Step Guide to Fixing Tesla Chrome Delete Damage: Techniques and Tips
Repairing Tesla Chrome Delete damage doesn’t have to be a daunting task. With the right techniques and tips, even non-professionals can achieve a professional-looking fix. Start by gathering the necessary tools and materials: a mild soap solution, microfiber cloths, a dent puller (for minor dents), and a high-quality chrome restoration kit. Next, carefully inspect the damaged area to assess its severity. For simple scratches or pitting, a polishing compound can restore the chrome’s shine. Apply it with a buffer, working in small sections, until the surface is smooth and free of imperfections.
For more significant damage, such as deep scratches or holes, consider using a dent puller to gently remove the damaged metal. Once the area is prepped, apply the chrome restoration kit according to the manufacturer’s instructions. This process involves sanding, priming, and finally coating the repaired area with chrome plating. Remember, patience and precision are key; take your time to ensure even coverage and avoid overspray onto surrounding areas. Regular auto maintenance includes checking for any new damage and keeping the chrome surfaces clean and protected.
Repairing Tesla chrome delete damage is more accessible than you think. By understanding the common causes and affected areas, along with the right tools and materials, you can effectively fix your vehicle’s damaged chrome. Following a simple, step-by-step guide ensures a successful restoration, bringing your Tesla back to its original gleam. Remember, prompt action on minor damage can prevent more extensive and costly repairs later on. So, take charge of your Tesla’s chrome delete issues and drive with pride again!