


Tesla chrome delete damage is a common issue caused by impact, scratches, and weather. This decorative trim's aesthetic and structural importance highlights the need for early identification. Repair involves tools like precision screwdrivers, sandpaper, primer, paint, and safety gear. The meticulous process includes inspection, removal, corrosion repair, custom fabrication or matching of new trim, and a high-quality paint job for a seamless fit. Regular washing and waxing prevent damage.
Damaged Tesla Chrome Delete trim can significantly detract from your vehicle’s aesthetic appeal. This comprehensive guide walks you through the process of repairing your Tesla’s chrome delete damage effectively. Understanding common causes and gathering the right tools and materials is key. We break down the step-by-step repair process, ensuring a neat and professional finish. By following these simple steps, you can restore your Tesla’s original glamour and avoid costly dealership repairs. Learn how to perform a Tesla chrome delete repair today.
Understanding Tesla Chrome Delete Damage

Tesla Chrome Delete Damage: A Common Issue
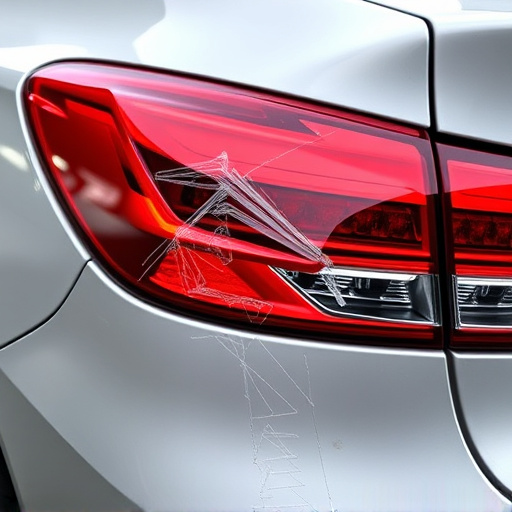
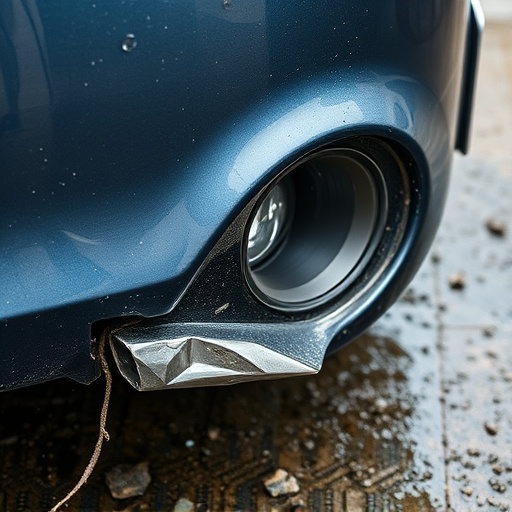
Damage to Tesla’s chrome delete trim can occur due to various reasons, such as road debris impact, accidental scratches, or exposure to harsh weather conditions. This decorative trim, often found around window frames and door handles, is both aesthetically pleasing and integral to the vehicle’s overall design. When damaged, it not only affects the car’s appearance but may also compromise its structural integrity if left unattended. Recognizing the issue early on is crucial for effective Tesla chrome delete repair.
Identifying chrome delete damage might involve examining the trim for cracks, dents, or flaking of the protective coating. Over time, environmental factors can contribute to corrosion and discoloration, making it susceptible to complete removal or peeling. Fortunately, many auto body repairs specialists are equipped to handle such tasks, ensuring that your Tesla retains its sleek and modern appearance. Regular auto maintenance practices, including frequent washing and protection with waxes or sealants, can also help prevent chrome delete damage in the first place.
Gathering Tools and Materials
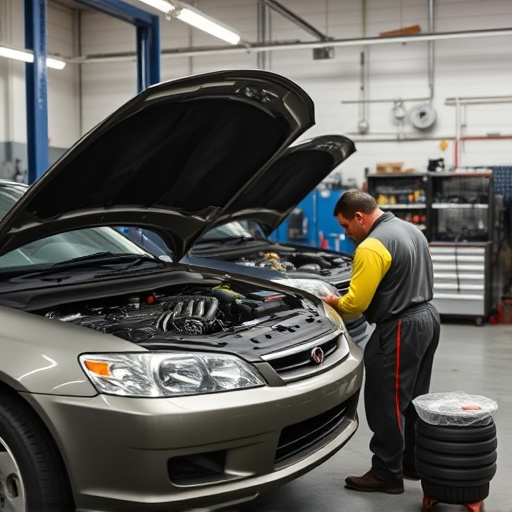
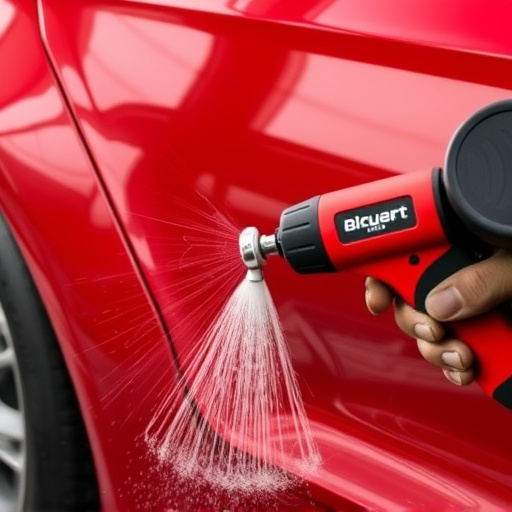
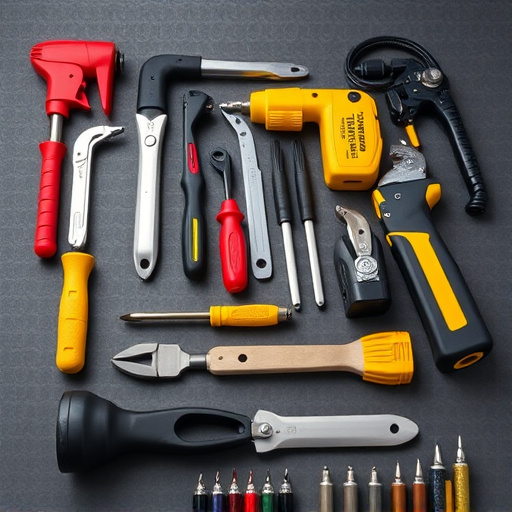
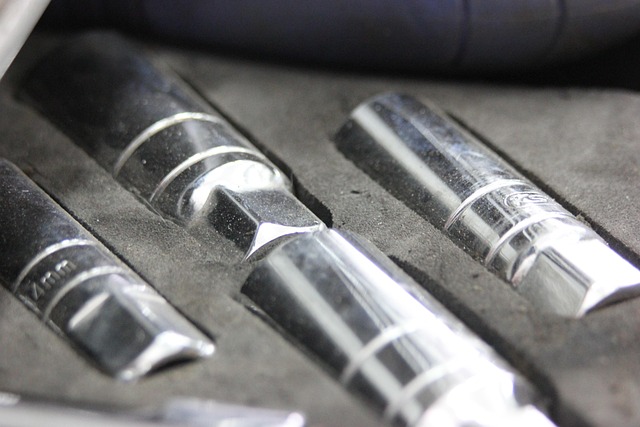
Before starting any Tesla chrome delete repair, it’s crucial to gather the right tools and materials. For this specific task, you’ll need a set of precision screwdrivers, a metal file or sandpaper, automotive-grade primer and paint (in a matching color), a cloth for polishing, and possibly a heat gun or hair dryer for softening hardened chrome. A collision center or auto body repair shop might be your best source for these supplies, ensuring you acquire high-quality products suitable for vehicle restoration.
Additionally, safety gear is essential during any auto body repair process. This includes gloves, safety glasses, and a dust mask to protect against harmful chemicals and debris. Having a clean, well-lit workspace will also make the repair process smoother. Once your tools and materials are ready, you’re one step closer to effectively restoring your Tesla’s aesthetic appeal.
Step-by-Step Repair Process
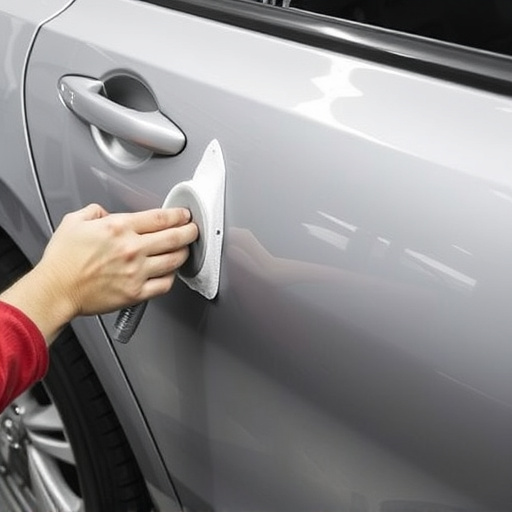
The Tesla chrome delete trim repair process involves several meticulous steps to ensure a flawless restoration. Begin by thoroughly inspecting the damaged area for any loose or missing pieces. This step is crucial in determining the extent of the repair needed. Next, carefully remove the defective trim piece using specialized tools, taking caution not to damage surrounding components. Once removed, examine the underlying surface for any signs of corrosion or damage; this may require professional car body restoration techniques to prepare the area properly.
After preparing the surface, a skilled technician can then fabricate a new trim piece, either by molding a replacement from scratch or using custom car paint services to match the existing trim precisely. This new component is then fitted and secured in place, ensuring proper alignment and a seamless fit. Finally, a high-quality car paint job can be applied to match the vehicle’s original finish, making the Tesla chrome delete repair virtually invisible to the naked eye. Hail damage repair techniques may also be employed if the trim was impacted by weather or debris.
Repairing damaged Tesla Chrome Delete trim is a feasible DIY project with the right tools and knowledge. By understanding the common causes of damage and gathering the necessary materials, you can effectively restore your vehicle’s aesthetic appeal. Following the step-by-step guide ensures a precise and professional-looking repair, allowing you to confidently navigate the process and enjoy a like-new look for your Tesla. For effective Tesla chrome delete repair, it’s all about attention to detail and the right approach.