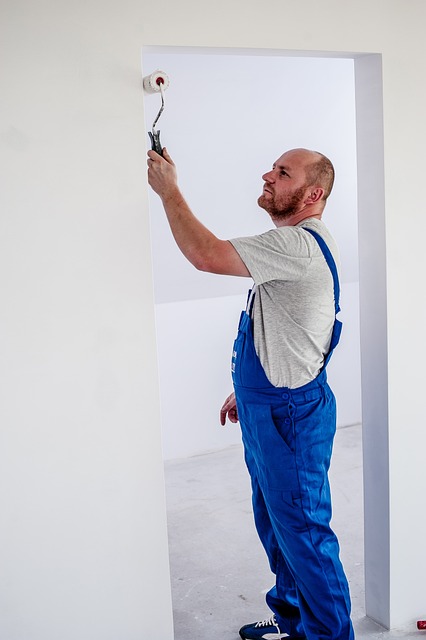

Tesla chrome delete repair is a specialized service for damaged modern design elements after accidents or cosmetic upgrades. Skilled technicians identify and fix dents, scratches, and detached pieces using high-quality materials and advanced techniques. Gather a chrome removal kit, sandpaper, isopropyl alcohol, and microfiber cloths in a well-ventilated area. Prepare the surface by cleaning and sanding, then prime and paint with color-matched finish, followed by clear coat for protection. This meticulous process ensures professional repair and enhances vehicle value.
Looking to restore your Tesla’s damaged chrome delete trim? This comprehensive guide covers the best methods for a successful Tesla chrome delete repair. We’ll walk you through understanding common damage, gathering the essential tools and materials, and providing a step-by-step process for achieving a professional finish. By following these expert tips, you’ll learn how to effectively restore your Tesla’s aesthetic appeal.
- Understanding Tesla Chrome Delete Damage
- Gathering Essential Tools and Materials
- Step-by-Step Guide to Successful Restoration
Understanding Tesla Chrome Delete Damage

Understanding Tesla Chrome Delete Damage
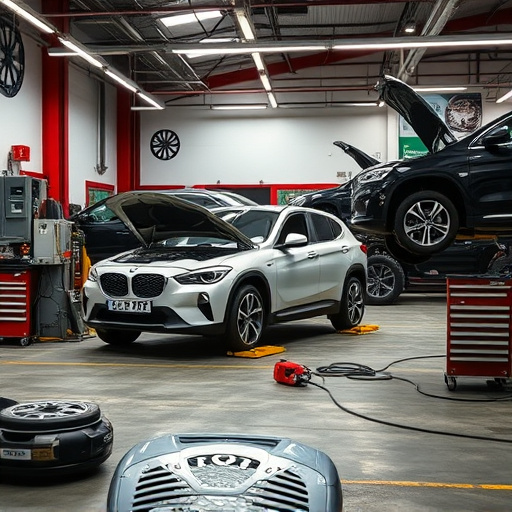
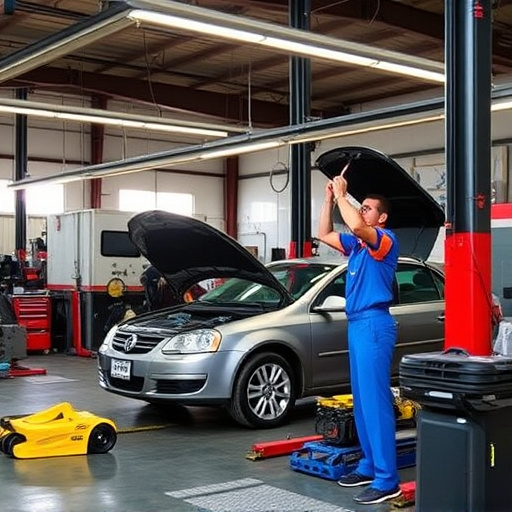
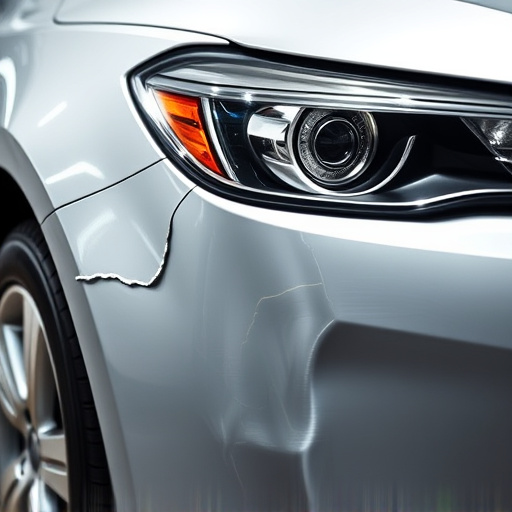
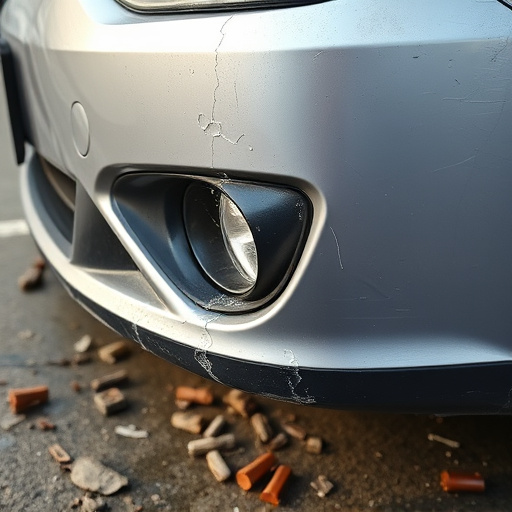
Tesla chrome delete trim restoration is a specialized service often required after an accident or cosmetic upgrades. A fender bender or minor collision can cause significant damage to the intricate chrome details on Tesla vehicles, which are known for their sleek and modern design. In such cases, a car body shop specializing in luxury vehicle repair becomes essential for accurate assessment and efficient restoration. The process involves careful disassembly, meticulous repair, and precise reinstallation to ensure the restored trim matches the original craftsmanship.
Accurate identification of damaged components is crucial. Chrome delete damage can manifest as dents, scratches, or even complete detachment of the trim pieces. Proper evaluation ensures that only necessary repairs are conducted, saving time and resources. A skilled technician will use high-quality materials and advanced techniques to restore the chrome delete elements, ensuring they not only look identical but also withstand the rigors of daily driving in a luxury vehicle.
Gathering Essential Tools and Materials

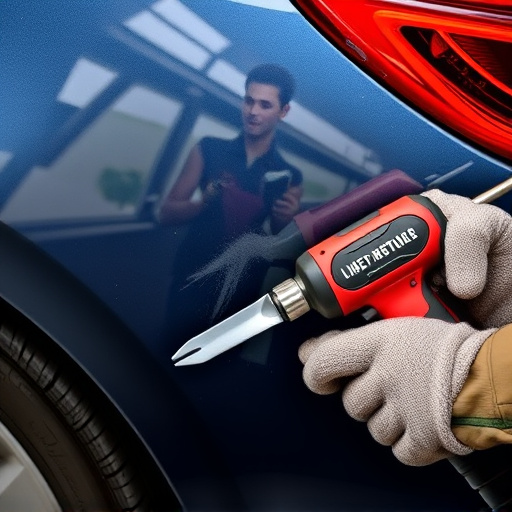
Before diving into the Tesla chrome delete trim restoration process, it’s crucial to gather all essential tools and materials. For a successful Tesla chrome delete repair, you’ll need specific items like a high-quality chrome removal kit, which typically includes solvents, abrasives, and protective gear. Don’t forget the auto maintenance essentials such as sandpaper, isopropyl alcohol, and microfiber cloths for precise scratch repair and meticulous car body repair work.
Ensure your workspace is well-ventilated to avoid inhaling harmful chemicals. Proper preparation of the surface, including cleaning and sanding, is key to achieving a seamless finish. With the right tools at hand, you’ll be ready to tackle this intricate process, enhancing both the aesthetics and value of your Tesla through effective chrome delete techniques.
Step-by-Step Guide to Successful Restoration

Restoring your Tesla’s chrome delete trim to its former glory involves a meticulous process that requires patience and precision. Here’s a step-by-step guide for a successful restoration, focusing on achieving that perfect finish:
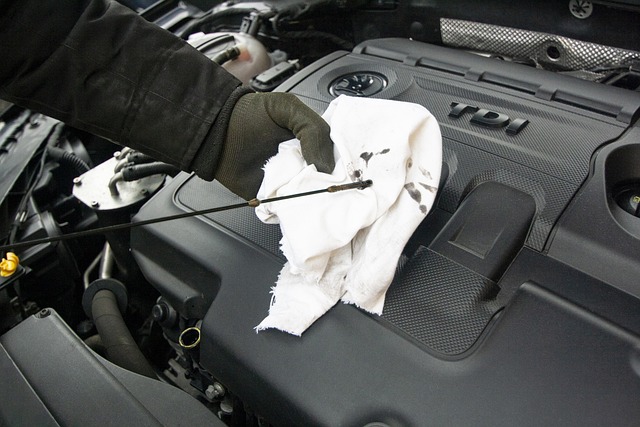
1. Preparation: Begin by thoroughly cleaning the damaged area using a mild soap and warm water solution. Remove any dirt, dust, or grease to ensure a clean canvas for repair. Dry the surface completely to prevent water spots from interfering with the next steps.
2. Sand and Prime: Using fine-grit sandpaper, gently sand the chrome delete area to remove any rough edges or remaining paint. This process prepares the surface for bonding. After sanding, wipe down the area again to ensure no debris remains. Apply a high-quality primer designed specifically for automotive restoration work, allowing it to dry evenly. Priming fills in any minor imperfections and provides a solid base for painting.
3. Paint Application: Choose a color match paint that exactly replicates your Tesla’s original chrome finish. Apply the paint using a fine spray gun or airbrush technique, ensuring even coverage. Allow each coat to dry according to the manufacturer’s instructions before adding subsequent layers. This meticulous application process is key to achieving a professional, seamless finish.
4. Clear Coat: Once the final coat of paint has dried completely, apply a high-quality clear coat to protect the restoration work. The clear coat provides a protective barrier, enhancing durability and shine. Allow it to cure fully for optimal results.
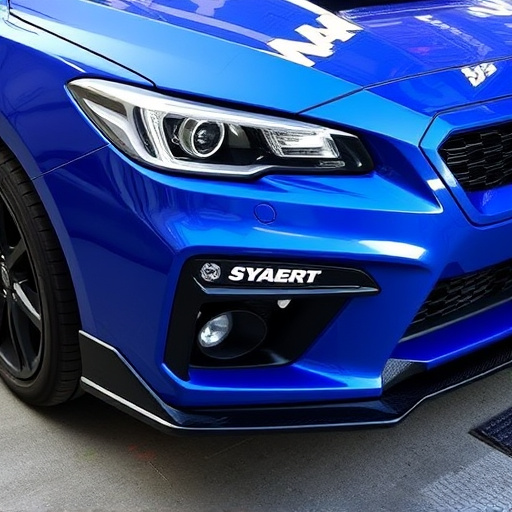
Restoring a Tesla’s chrome delete trim is an accessible way for owners to revive their vehicle’s aesthetic appeal. By understanding the damage, gathering the right tools, and following a structured guide, you can effectively reverse the chromed areas’ removal process. With patience and precision, your Tesla will regain its shiny, factory-like finish, enhancing its overall appearance. Remember, proper care and regular maintenance are key to keeping this repair looking its best in the long run.