
Tesla chrome delete repair is a challenging process due to the vehicle's intricate design and finish. Color mismatch issues often arise from damaged surrounding paintwork. Professional techniques include precise dent repair, detailed color matching using advanced tools and safety gear for optimal results. This guide provides a step-by-step approach, emphasizing preparation, color replication, and clear coat application for perfect restoration.
Tesla owners often face the challenge of a discolored or mismatching chrome delete on their vehicles. This article guides you through a comprehensive Tesla chrome delete repair process without color mismatch. We’ll first explore common issues, then outline the tools and materials needed. Next, we provide a step-by-step guide to ensure a perfect restoration, maintaining your car’s sleek aesthetic. Learn how to tackle this fix yourself or understand the signs indicating professional help is required.
- Understanding Tesla Chrome Delete Issues
- Tools and Materials for Repair
- Step-by-Step Guide to Color-Match Restoration
Understanding Tesla Chrome Delete Issues
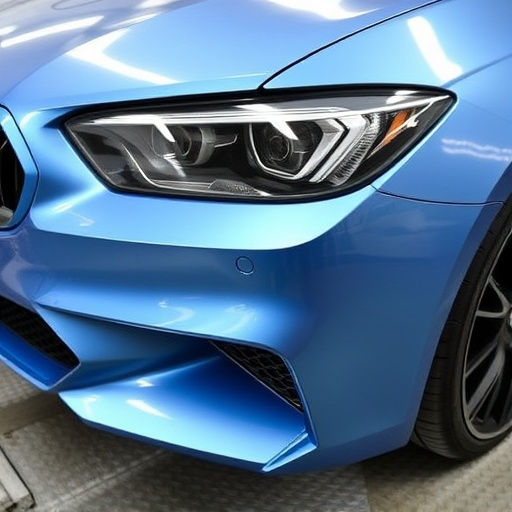
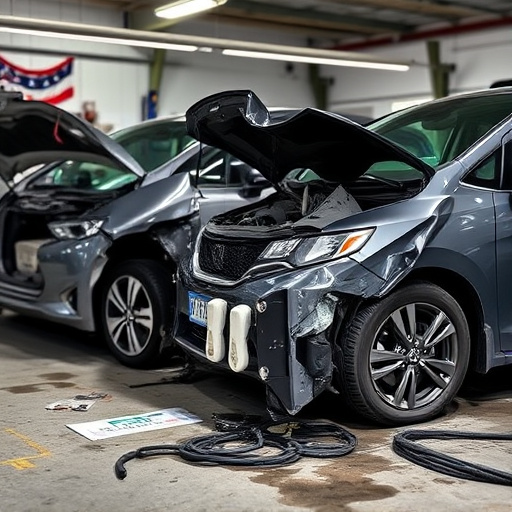
Tesla Chrome Delete Repair can be a tricky process due to the unique finish and design elements these vehicles boast. When a Tesla owner decides to remove or “delete” specific chrome details, it’s not uncommon for color mismatch issues to arise. This often occurs when the surrounding paintwork is affected during the removal process, leading to unsightly gaps or variations in hue.
Proper understanding of car damage repair techniques, especially dent repair and dent removal methods, is crucial in mitigating these problems. By carefully planning and executing the chrome delete, professionals can ensure a seamless finish, matching the vehicle’s overall aesthetic. This involves precise tooling and an in-depth knowledge of paint technology to blend and match colors accurately, thus preserving the car’s original and elegant appearance.
Tools and Materials for Repair
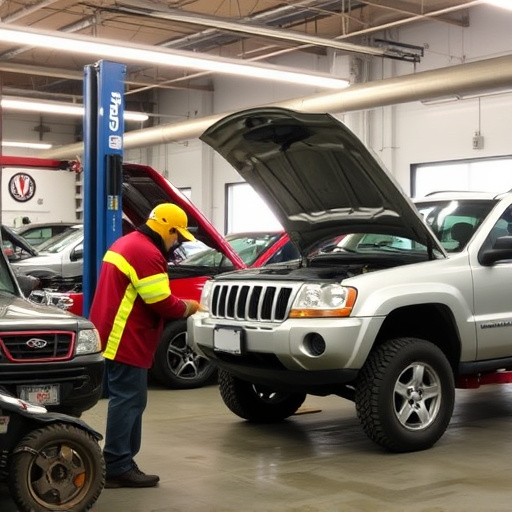
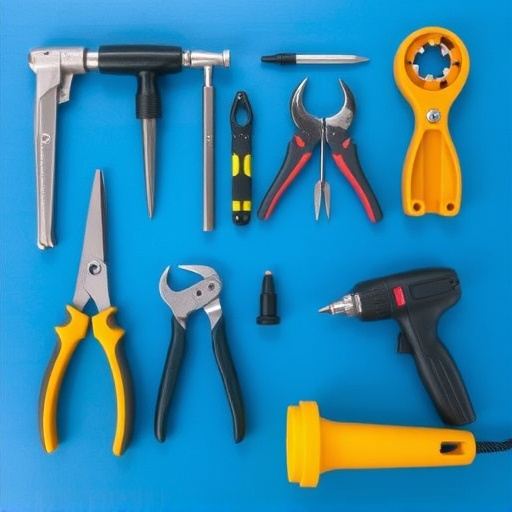
When undertaking a Tesla chrome delete repair, the right tools and materials are essential for achieving a professional finish that matches the car’s overall aesthetics. For this process, you’ll require specific equipment designed to handle delicate chrome removal and replacement without causing color mismatch or damage to the underlying surface. High-quality sandpaper with various grits, ranging from coarse to fine, is a must-have. These will help in shaping and smoothing the edges before applying new coatings. Additionally, a reliable paint matching system is crucial for accurately replicating the vehicle’s original color, ensuring seamless integration post Tesla chrome delete repair.
Beyond that, an array of tools like precision scissors, utility knives, and chrome removal solutions specific to automotive applications will facilitate the precise cutting and peeling of the old chrome. Safety gear, including gloves and protective eyewear, is also vital to safeguard against sharp edges and potential chemical exposure during the auto body repair process. Moreover, a clean workspace with ample lighting ensures efficiency and reduces the risk of errors in autobody repairs.
Step-by-Step Guide to Color-Match Restoration
Restoring a Tesla to its original sleek look after a chrome delete repair involves a meticulous process. Here’s a step-by-step guide for achieving perfect color-match restoration on your Tesla chrome delete repair.
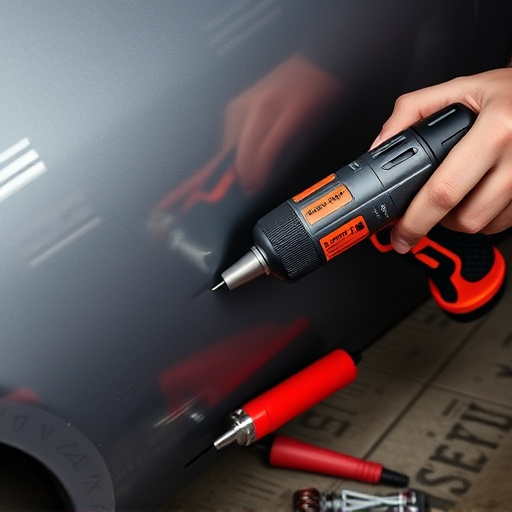
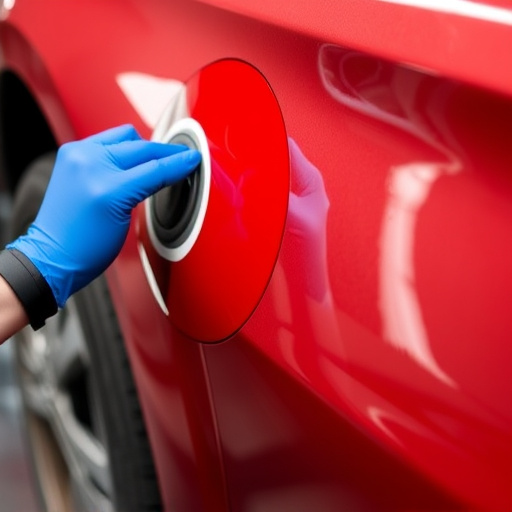
1. Prepare the Surface: Begin by thoroughly cleaning the affected area, removing any debris or dust with compressed air. This ensures a clean canvas for painting. For minor dents or imperfections, use a dent removal tool to push out any depressions, smoothing the surface before proceeding.
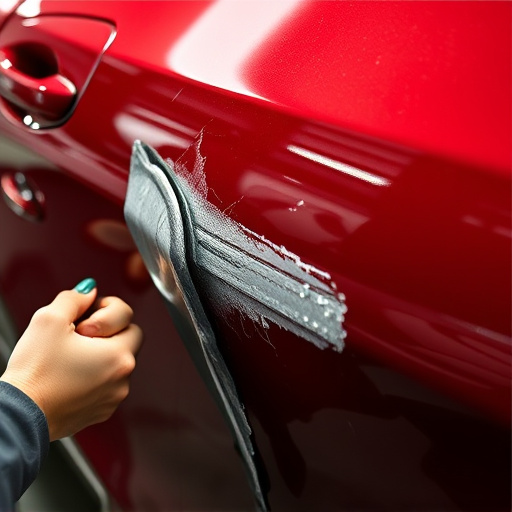
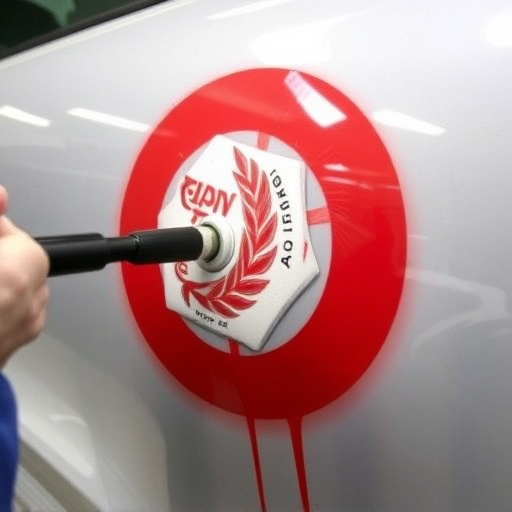
2. Sand and Prime: Lightly sand the chrome-deleted area using fine-grit sandpaper to create a rough texture that will help with paint adhesion. Use a car collision repair primer to prepare the surface, filling in any small gaps or imperfections. Allow the primer to dry completely, creating a solid foundation for painting.
3. Mix and Apply Paint: Mix the original Tesla body color paint, ensuring it closely matches the vehicle’s existing shade. Using a fine brush or spray gun, apply thin, even coats of paint, allowing each layer to dry between applications. This meticulous process is crucial for achieving a seamless finish.
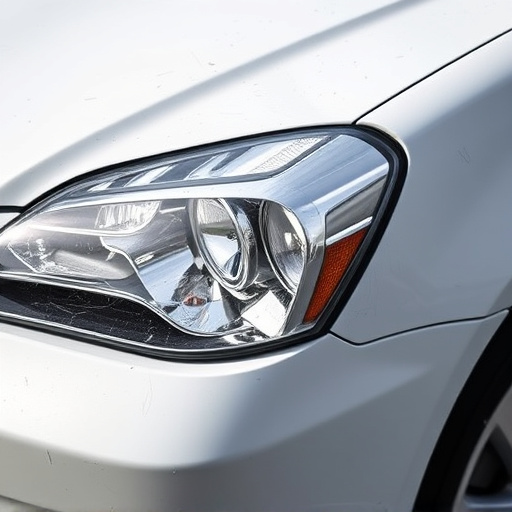
4. Clear Coat Application: Once the base coat is dry, apply a clear coat to protect the paint and enhance its durability. Repeat the thin, even coat technique, ensuring no runs or bubbles form. Allow the final clear coat to cure fully, revealing a restored surface that blends seamlessly with the rest of the vehicle’s body.
Tesla owners often face the challenge of a discolored or mismatching chrome delete on their vehicles, but with the right approach, this issue can be effortlessly rectified. By understanding the root cause and utilizing specific tools and materials, you can successfully restore your Tesla’s chrome to its original sleekness. The step-by-step guide provided offers a practical solution for achieving a color-match restoration without compromising quality or aesthetics. Now, you can drive with confidence, knowing that your Tesla’s chrome delete is as good as new.