


Tesla owners often face "Tesla Chrome Delete" issues due to environmental factors, road debris, and poor maintenance, impacting aesthetics and resale value. Repairs require advanced techniques, meticulous preparation, and skilled technicians applying new chrome coatings. Home repairs are possible with the right tools (sandpaper, remover solution, protective gear, putty knife, Tesla touch-up paint) following a step-by-step guide: clean, sand, remove chromed surface, fill gaps/dents, apply touch-up paint and dry. Regular upkeep, dedicated washing, prompt drying, and vigilance for damage prevent future issues, preserving aesthetics and structural integrity, and saving costs on professional repairs.
“Discover how to tackle a common issue affecting Teslas: the Chrome Delete. This comprehensive guide empowers every owner to understand, fix, and prevent this aesthetic dilemma. Learn about the impact of Chrome Delete on your vehicle’s value and appearance, then follow our step-by-step DIY repair tutorial for a budget-friendly solution.
We also offer tips to maintain your Tesla’s chrome, ensuring a long-lasting, stylish finish. Say goodbye to costly dealership repairs and embrace the DIY approach with confidence.”
- Understanding Tesla Chrome Delete: The Issue and Its Impact
- Step-by-Step Guide to DIY Chrome Delete Repair
- Tips for Maintaining and Preventing Future Chrome Deletes
Understanding Tesla Chrome Delete: The Issue and Its Impact

Many Tesla owners have encountered a common issue known as the “Tesla Chrome Delete.” This occurs when the intricate chrome details on their vehicles start to fade, chip, or completely disappear over time due to various factors like environmental exposure, road debris, and poor maintenance. The impact of this problem is twofold: not only does it detract from the vehicle’s aesthetic appeal, but it can also affect its overall value, especially for those who take pride in keeping their cars in pristine condition.
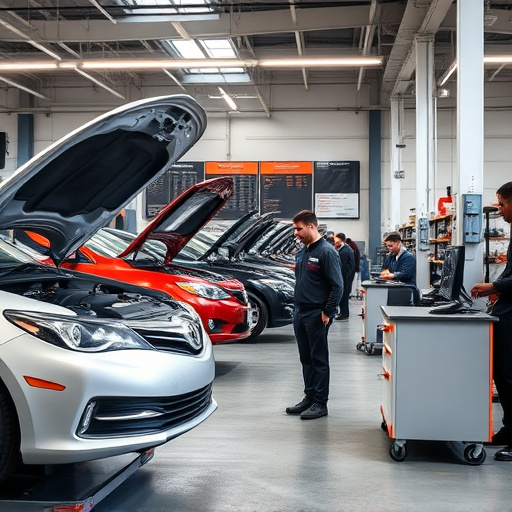
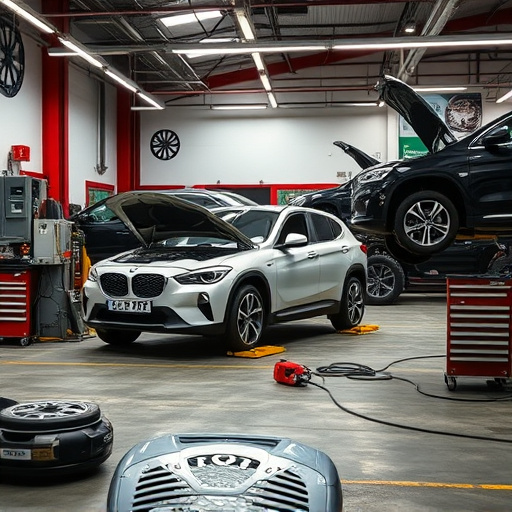
The Tesla Chrome Delete repair process involves meticulous vehicle collision repair techniques to restore the damaged areas. Skilled technicians use specialized tools and materials to carefully remove the affected chrome parts, prepare the surface, and then precisely apply new chrome coatings or trim pieces, ensuring a seamless fit and match with the vehicle’s original design. This restoration technique is not just about fixing the visible damage; it also highlights the importance of regular upkeep and care for electric vehicle (EV) owners to prevent such aesthetic issues in the first place.
Step-by-Step Guide to DIY Chrome Delete Repair

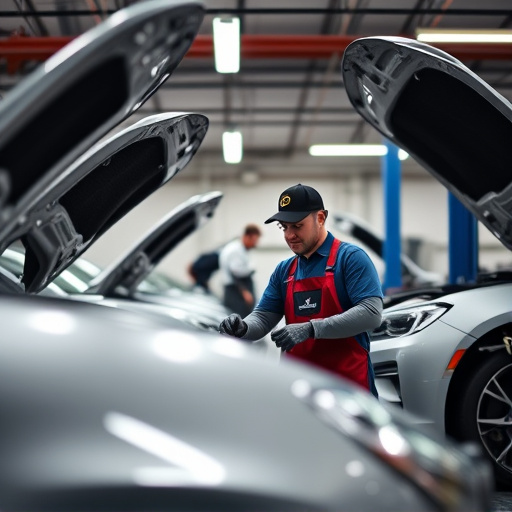
Performing a Tesla chrome delete repair is easier than you might think—and can save you a significant chunk of money compared to taking your vehicle to a professional shop. Here’s a step-by-step guide designed for DIY enthusiasts looking to tackle this project themselves.
First, gather all necessary tools and materials: sandpaper (various grits), a chrome remover solution, protective gear (gloves, goggles), a putty knife, and touch-up paint specifically designed for Teslas. Begin by thoroughly cleaning the damaged area, removing any dirt or debris. Next, use the sandpaper to gently buff away the chromed surface, creating a rough texture that will ensure better adhesion for your repair. After sanding, apply the chrome remover solution as per the product’s instructions, allowing it to dissolve the remaining chrome. Once the area is free of chrome, clean again to remove any residue and dry completely. Now, use the putty knife to fill in any gaps or dents with automotive body filler, smoothing the surface once cured. Finally, apply the touch-up paint, matching it as closely as possible to your Tesla’s original color, and allow it to dry thoroughly before enjoying your newly restored vehicle—all without ever leaving home.
Tips for Maintaining and Preventing Future Chrome Deletes

Regular maintenance can significantly prevent future Tesla chrome delete issues. Keeping your vehicle clean and free from road debris is an essential first step. Use dedicated car washing techniques, avoiding high-pressure washers or harsh chemicals that could damage the paintwork and exposed metal. After a wash, quickly dry the car to prevent water spots which might attract dirt and cause rust over time.
Additionally, regular checks for any signs of damage, especially after a fender bender or dent repair, are crucial. Even minor impacts can compromise the structural integrity of chrome trim, leading to future deletions. Staying vigilant and promptly addressing any auto body services required will go a long way in preserving your Tesla’s aesthetic appeal and preventing costly repairs down the line.
Whether you’re a Tesla owner looking to fix a frustrating chrome delete issue or simply wanting to prevent future problems, this guide has equipped you with the knowledge and step-by-step instructions to tackle the task. By understanding the root cause and implementing the maintenance tips, you can ensure your Tesla’s exterior remains pristine and free from unsightly chrome damage. Remember, a little DIY care can go a long way in keeping your electric vehicle looking its best.