


The Tesla Chrome Delete Trim, a popular aesthetic feature, is susceptible to environmental damage and regular use, leading to peeling, chipping, or fading. Prompt repair using high-quality materials from specialized collision repair shops is crucial for maintaining vehicle resale value, especially for lease returns. The five-step Tesla chrome delete repair process involves thorough inspection, sanding/filling, polishing, reapplying chrome coating, and final touches to restore damaged trim to its original condition. Regular care like washing and waxing, along with preventative measures against damage, maximize the resale value of lease return vehicles.
“Revitalize your Tesla’s interior with a comprehensive guide to Chrome Delete Trim Repair, especially relevant for lease returns. This intricate process addresses common issues like discoloration, cracks, and loose trim, enhancing vehicle aesthetics. Our article offers a detailed breakdown of the repair process, providing step-by-step instructions for optimal results. Additionally, we share valuable tips for maintenance and prevention, ensuring your Tesla’s interior stays in top condition. Discover how to effectively manage lease return conditions through expert Tesla chrome delete repair techniques.”
- Understanding Tesla Chrome Delete Trim and Its Common Issues
- The Repair Process: Step-by-Step Guide for Effective Results
- Tips for Maintaining and Preventing Future Damage on Lease Returns
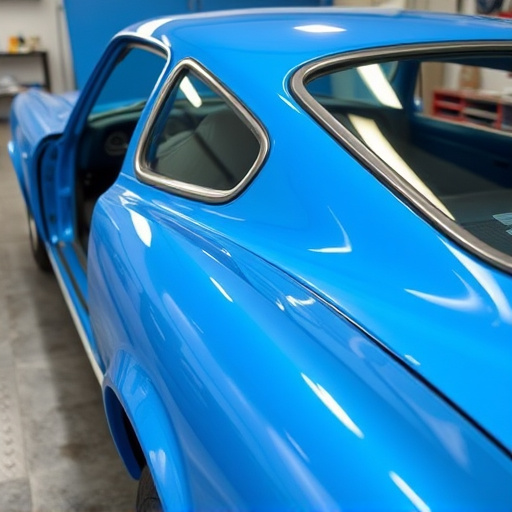
Understanding Tesla Chrome Delete Trim and Its Common Issues

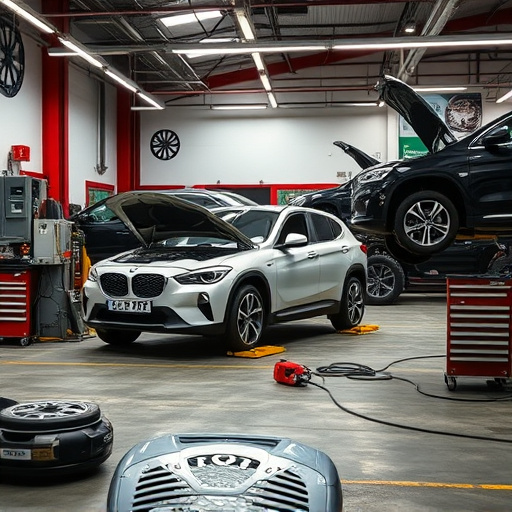
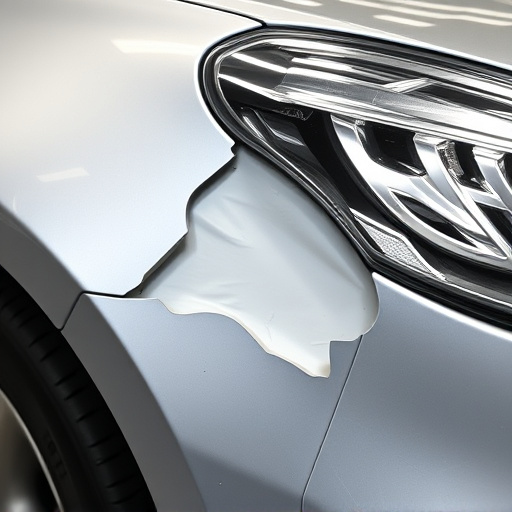
Tesla Chrome Delete Trim, a distinctive feature on many Tesla models, adds a sleek and modern touch to the vehicle’s exterior. However, this trim is also prone to damage due to its exposure to the elements and frequent use. Common issues include peeling, chipping, or fading of the chrome finish, often caused by poor installation, extreme weather conditions, or routine wear and tear. These problems can significantly impact a Tesla’s aesthetic appeal and resale value, especially for lease returns where vehicles are inspected rigorously.
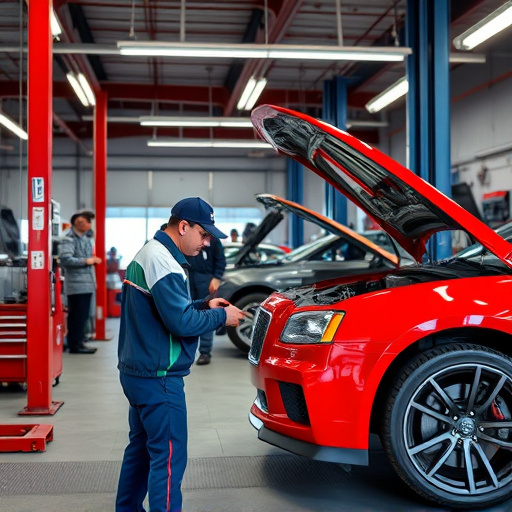
Many lease return programs require vehicles to be in near-perfect condition, making prompt repair of damaged Chrome Delete trim crucial. A qualified collision repair shop offering specialized body shop services can expertly address these issues, ensuring the vehicle is restored to its original splendor. By utilizing advanced techniques and high-quality materials for Tesla chrome delete repair, these shops help maintain the vehicle’s value and protect the investment for both owners and leasing companies.
The Repair Process: Step-by-Step Guide for Effective Results

The Tesla Chrome Delete Trim Repair process involves a meticulous approach to restore the vehicle’s aesthetic appeal, especially for lease returns where maintaining condition is paramount. Here’s a step-by-step guide to ensure effective results:
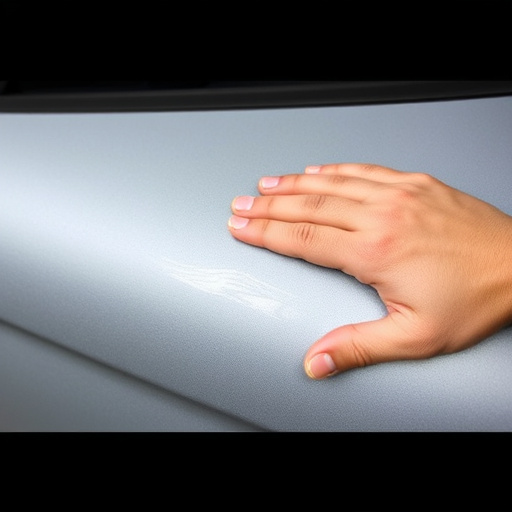
1. Preparation: Begin by thoroughly inspecting the damaged areas, removing any loose debris or remnants. Prepare your workspace with proper ventilation, don protective gear, and lay out necessary tools: sandpaper, polish compounds, microfibers, and a clean set of chrome delete trim pieces (if required).
2. Sanding and Cleaning: Using fine-grit sandpaper, gently buff the affected trim to remove oxidation and imperfections. Ensure all surfaces are dust-free. Apply an auto dent repair solution or body restoration putty to fill in any minor dents or scratches. Once dry, carefully sand again for a smooth finish. Clean the area with a dedicated cleaner, removing any residue.
3. Polishing: Apply a high-quality polish compound using a cutting pad, working in small sections. This step enhances the gloss and prepares the surface for chrome reapplication. Follow manufacturer instructions for ideal results. Allow the polish to cure as per recommended time frames.
4. Chrome Application (if necessary): For a complete Tesla Chrome Delete look, apply a chrome coating or paint over the polished trim. Ensure proper surface preparation and follow the product’s application guidelines. This step adds the desired aesthetic finish, removing all signs of oxidation and damage.
5. Final Touches: Once dry, inspect for any imperfections. Use a microfiber cloth to buff the area, achieving a mirror-like shine. Remove any remaining tape or residue with dedicated products.
Tips for Maintaining and Preventing Future Damage on Lease Returns

Maintaining a lease return vehicle is crucial to ensure the best possible resale value and avoid additional charges. Regular washing and waxing are essential steps in protecting the exterior, especially areas prone to rust, like chrome trim. A Tesla chrome delete repair can be part of your maintenance routine, keeping these features looking new.
Preventative measures, such as covering the vehicle when parked outdoors and regularly inspecting for damage, can significantly reduce the need for extensive collision repair services or vehicle restoration. Keeping an eye out for small chips or scratches and promptly addressing them with a suitable chrome delete repair kit is a smart strategy to maintain the vehicle’s aesthetic value.
In conclusion, mastering Tesla Chrome Delete trim repair is invaluable for lease returns. By understanding common issues and following a detailed step-by-step guide, you can ensure vehicle resale value and customer satisfaction. Remember that proactive maintenance, including regular cleaning and protection, plays a crucial role in preventing future damage. For optimal results, consider these tips to keep your Tesla’s chrome delete trim looking pristine for years to come.